This article serves as a guide to those who are venturing into Macrophotography.
Images are all taken with the Canon EOS 80D & Canon EF 100mm f2.8L IS USM.
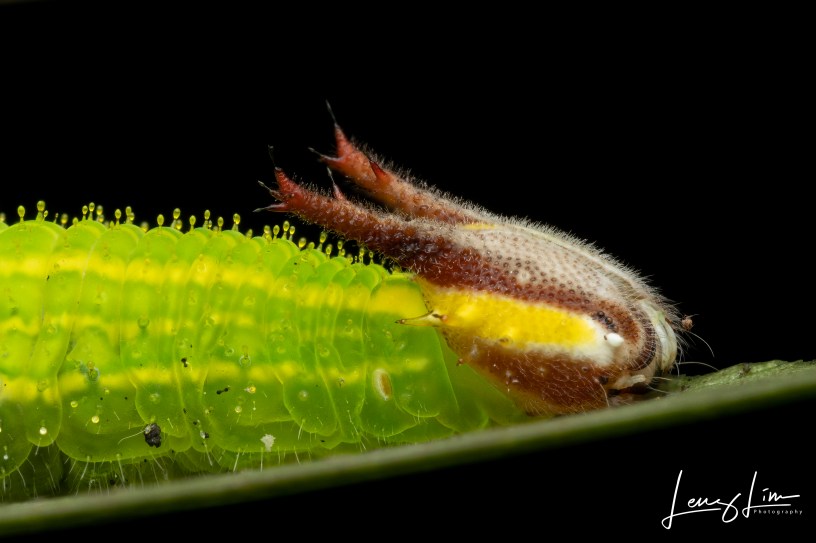
1/200th, f/10, ISO 100
To get your settings right, it is imperative that you understand basic exposure, and how aperture, ISO and shutter speed work together with your camera’s metering modes to achieve a properly exposed shot. With all kinds of photography, your settings will change based on the conditions you are faced with, whether shooting in the day or night, photographing a skittish subject, a tiny or large subject and the list goes on~ However, the nature of macro photography does not need you to be blazing fast with assessing situations and switching settings on the spot as you would with wildlife photography (birding) for that matter.
As you read further, once again I reiterate that most of my shoots happen at night, where there is minimal or no ambient light at all. Shooting with sufficient ambient light would definitely make it much easier, just master shooting at night and you will have no issues in the day.
Here is your basic exposure triangle (photo cr. https://photographylife.com/what-is-exposure-triangle)

As you can see, I added the red circles for reference.
To make things simple, I always shoot at ISO 100. With the aid of artificial lighting from your flash units, this is not a problem obviously. ISO 100 will get you the cleanest shots and it is a setting that I use 90% of the time.
Sometimes, you may need to bump up a few stops (I usually cap at 400) when you are faced with larger subjects that you can’t go 1:1 or more, subjects like this Deroplatys desiccata below. With larger or distant subjects, depending on how your diffuser directs light, you may need more ambient light to light up your subject, increasing your ISO may help this slightly. Full frame cameras perform better in this situation. You may utilise brighter torches (preferably those without hotspots) to light up your subject as well. All in all, just keep it at ISO 100 unless you really need to.
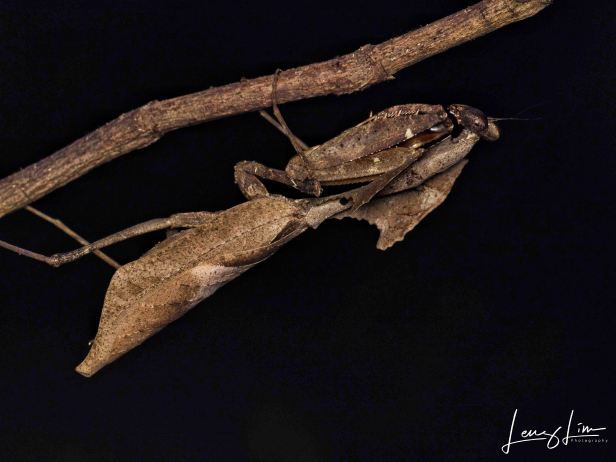
Dead-Leaf Mantis (Deroplatys desiccata) @ 1/160th, f/11, ISO100
Next shutter speed. As a general rule of thumb for all kinds of hand held photography, if you are shooting at 100mm focal length, use 1/100th of a second to eliminate motion blur. But as mentioned in my previous article, “Introduction to Macrophotography“, you will be shooting at high magnifications in macro which means magnified vibrations. To curb this, bump up your shutter speed a stop or two. As you get better with your technical skills in the field, you can bring down your shutter speed. Needless to say, if you are faced with a skittish subject or one that moves about a lot, bump it up. Something people may oversee is that your exposure settings directly affect your flash power, whether manual or ETTL. By reducing your shutter speed, you allow your flash to give out lesser output and in turn allows your flash to recycle much faster, essential if you intend to do handheld stacking.

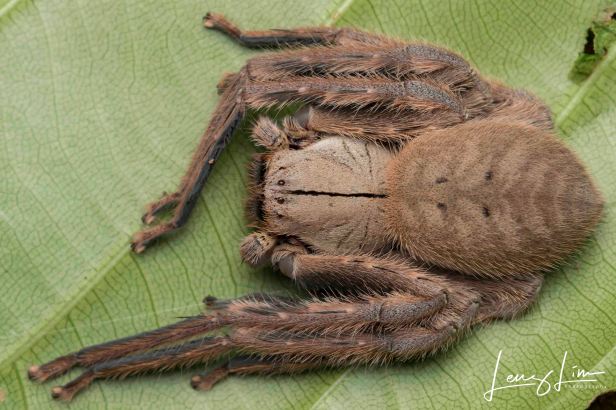
Huntsman Spider (Heteropoda davidbowie) @ 1/100th, f/11, ISO100
Lastly, your aperture settings. This is an important one as it determines how much Depth of Field (DOF) you are getting, I will discuss this below. The sweet spot of most lenses are at the f/8 region and you can get a decent DOF at f/8 but I would recommend anywhere between f/8 to f/16. As a rule, do not go above f//16. Simply put, any value larger than f/16 introduces diffraction and loss of detail when you zoom in. You can get away with those shots for your Instagram or what not, but not for large prints.
If you want to understand the physics behind diffraction, check out this link: https://photographylife.com/what-is-diffraction-in-photography
However, if you are using adaptors/diopters like the Raynox DCR150/250, or any specialised macro lenses that enable you to go further than 1:1, you may want to bump this up a little simply because of the shallow DOF but diffraction will still occur. Remember, we are shooting in the field, not the studio. If you want to shoot at extreme magnifications, you need to focus stack to get a decent DOF.
Okay, so what’s this whole DOF thing?
DOF is basically the focused region of your photo. Having certain areas of your photo in focus and the rest blurred out can help draw the attention of your audience to the subject matter, just like in portraiture, isolating the subject from the background and creating beautiful bokeh. On the contrary, you need a large DOF in macro to get more regions in focused. Here are some rules that govern the control of DOF:
1) Aperture
Larger aperture (smaller f-stop value) = Shallower DOF
2) Magnification
Higher the magnification = Shallower DOF
3) Focal Length
Longer focal length = Shallower DOF
4) Subject Distance (SD)
Closer SD = Shallower DOF
As you can see, many factors affect DOF. You can also achieve a larger DOF if you align your subject on the same focus plane. A slight difference in shooting angle can affect how much your photo gets in focused.
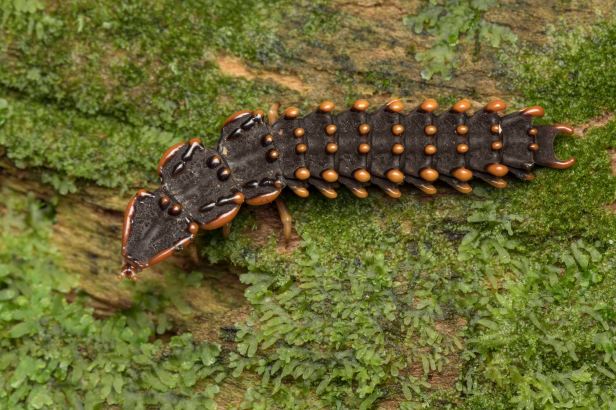
Trilobite Beetle @ 1/125th, f/10, ISO 100
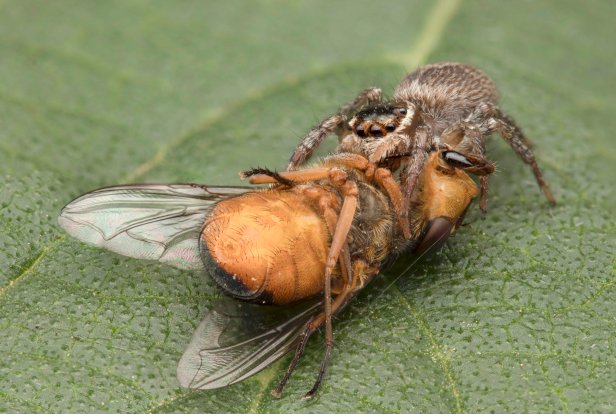
Huntsman Spider (Gnathopalystes sp.) @ 1/160th, f/11, ISO 100
If you simply are not getting enough DOF for your liking, or that your set up (usage of higher mag/adaptors) requires f/16 and above, you may need to do focus stacking (another article on that soon).
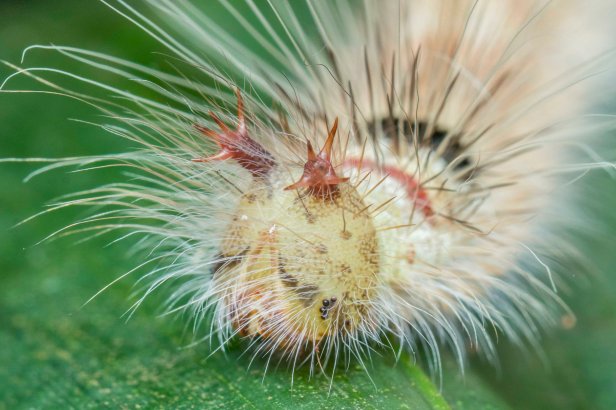
White-banded House Jumping Spider (Hypoblemum albovittatum) @ 1/200th, f/10, ISO 100 Handheld Stack
To achieve accurate colours, Auto White Balance may not always work as different flash units emit different colour temperatures. By shooting RAW, you can easily adjust this in post. When out in the field, you can take a photo of your finger and see if your camera is capturing the correct skin tone, and adjusting your white balance (K) as needed.
Spot metering will work best, especially in low light. Evaluative metering will not make sense if there is nothing behind your subject, rendering the background black as your flash is unable to light up background

Twig Spider (Ariamnes sp.) @ 1/125th, f/14, ISO 100
I will not go through all the benefits of shooting RAW, there are tons of articles out there. Simply put, shoot RAW and you will have a better platform to adjust exposure and colour correction.
Look out for the next article on “Techniques in Macrophotography” where I will teach you how to focus and overcome the absence of ambient light with proper techniques as well as light manipulation.
Contact me if you have questions or clarifications!
Do share this article if you like what you see! More to come!
For more content, follow me at www.instagram.com/thru_de_lenz
#macrophotography #singapore #biodiversity #wildlife #discovery #insects #arthropods #photography #tutorials
